Here we go with a quick How To project. We'll show you how to build wooden fences for In Her Majesty's Name or other general historical wargames. These would work very well with WWII or even Civil War games.
To start you'll need some foam board, wooden sticks, squared off toothpicks, coarse ballast and sand. We used black foamcore and for sticks we used balsa, coffee stirrers and craft sticks.
TIP: keep any old vitamin or other containers that have a flip top or shaker top. You can store and dispense sand or ballast from them.
We cut the foamcore to 4 inch by .75 inch, approx 200 mm x 20 mm for our base.
Trim the edges at approximately 45 degree angles..
then using a hobby knife trim the edges at an angle. The rougher the better.
Next, cut a gap down the center of the base wide enough for your sticks.
Cut your sticks to varying heights and take notches and chunks from the top and edges. These will come to play during the painting stages.
Using the toothpicks, cut two of them to reach across the back of the fence and glue them into place as supports. We did one across the top. You can put one at the top and bottom if you'd prefer.
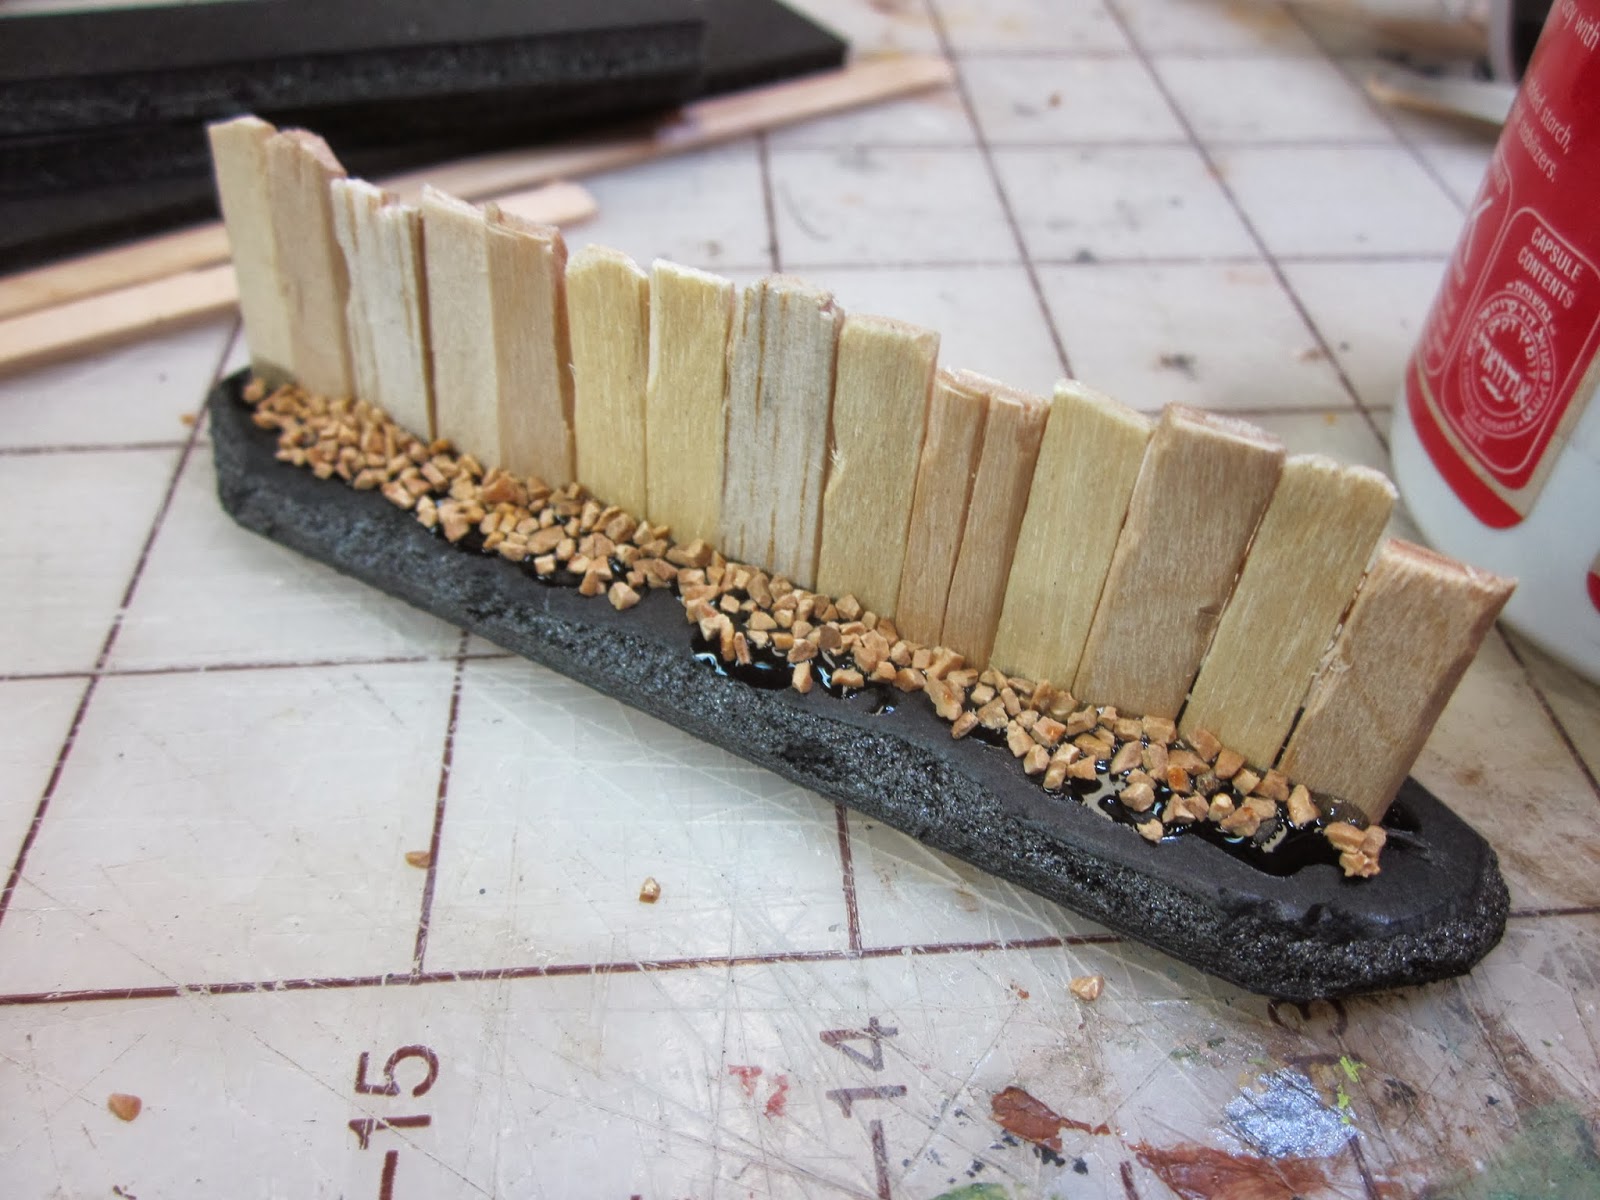
To secure all the vertical boards, apply craft or hobby glue along the front and back of the fence base. Before the glue dries press coarse ballast into it...
then spread sand into the gaps to cover the rest of the glue.
Once dried you'll have your fences ready for painting.
Base the fences with black, we used black rustoleum primer. We did apply a coat of acrylic paint to the edges of the foamcore so that the spray paint would not dissolve the foam.
Paint the first coat with a dark brown, We used Burnt Umber.
Next apply a liberal coat of medium brown.
Then a dry-brush of Territorial Beige, a light brown.
Finally a light dry-brush to highlight all the rough edges. We used Barn Wood to add age to the fences. We also applied a bit extra to some boards to give variety to the pieces.
Make sure to get highlight on the cross supports on the back.
For the rocky base we painted a rough coat of Medium Grey then a dry-brush of Light Grey.
You can add touches of static grass or flock to the base. We used a mixture of old spices and Coarse Turf. The old spices give a look of dead or dry plant life you'd likely find in a war torn area. For some flare you could place a barrel or other piece of scenery on the fence bases.
And there you have it, simple wooden fences, easily and quickly built for use in any of your wargames.
Place along a wharf for your game of In Her Majesty's Name...
or in the hills of a European hamlet being liberated by your Allied troops.
Have a Great Battle,
The Old Crow


Very nice tuto...great details!
ReplyDeleteThanks Phil, Appreciate the comment! If you like other historical fences, we did one on wattle fencing last year. You can see it here: http://battlegroundhobbies.blogspot.com/2012/01/buliding-battleground-scenery-for-saga.html
DeleteVery cool - thanks!
ReplyDeleteI love tutorials like this which show quick to make, but very nice terrain pieces
This comment has been removed by a blog administrator.
ReplyDelete