Welcome to our bolt action battle report, A Bridge to Near! Our game was a 4
player ordeal with two German players pitted against one British and one USA player. Each person had 750 points at their disposal. The objective was for
the British commandos to hold the bridge until relieved. Unfortunately for the Brits the bridge was to near to the Germans.
So the setup goes as follows,
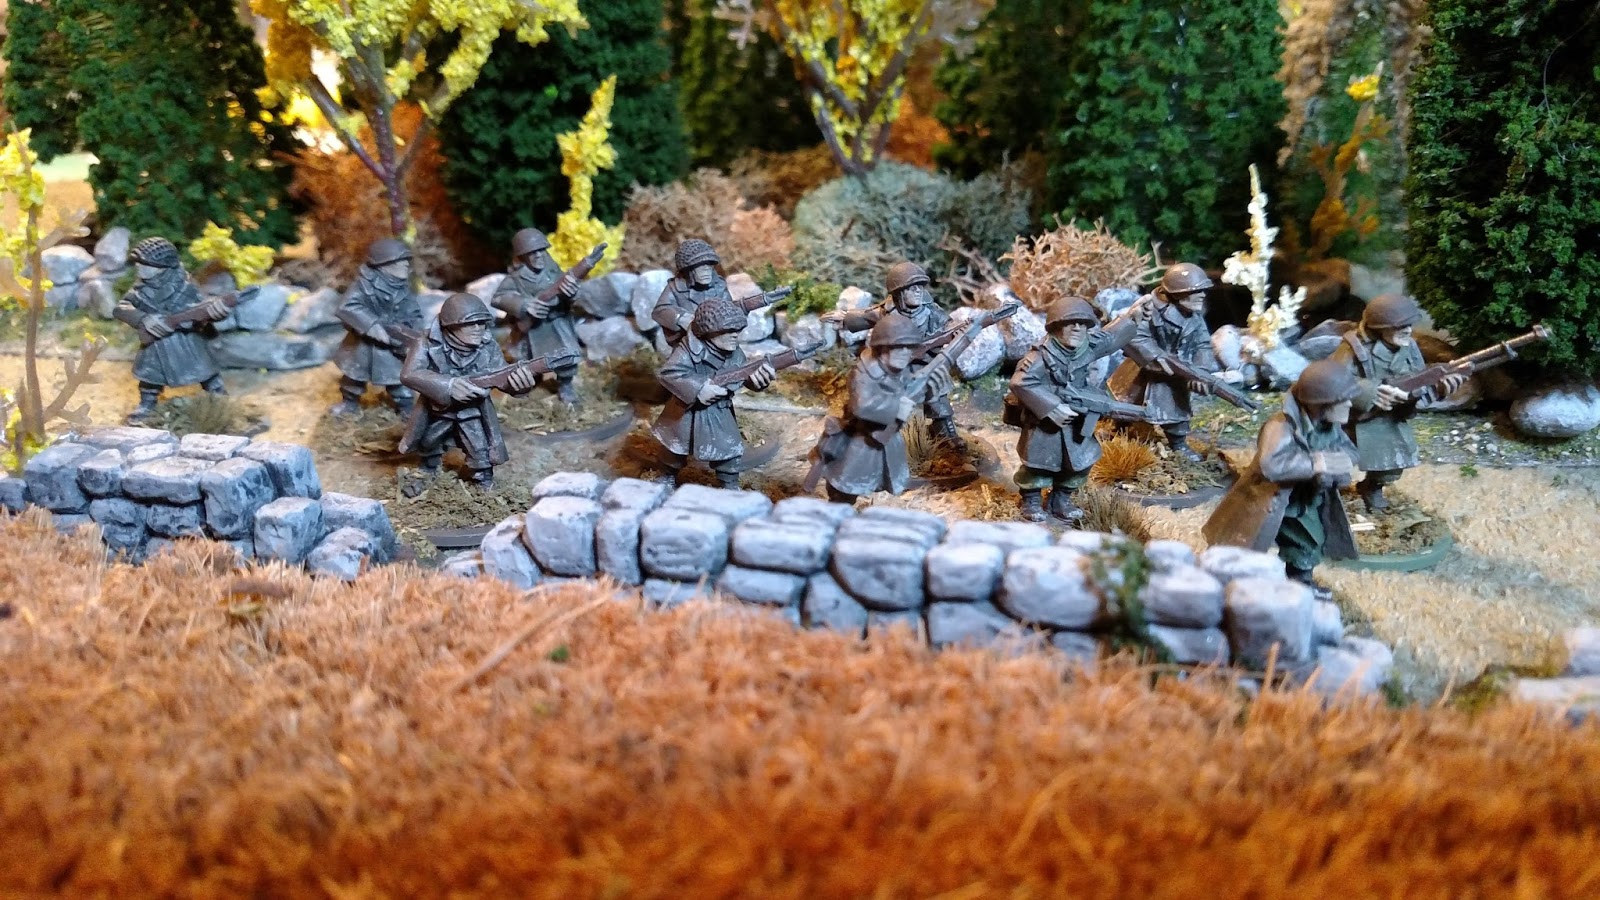
the commandos begin in the building next to the bridge. The sniper team
takes position behind the buildings under cover of some stone walls. Their free artillery observer holds up in the tower to the north. All other British and US forces will come in as reinforcements.
The Germans set up their mortar, a large squad of
Fallschirmjager infantry and their command unit all near the blown out
manor house. These units are hidden at the beginning of the game. The
rest of their forces will come in as reinforcements.
The US artillery, Sherman tank, bazooka team and infantry will come in the
upper left corner of our map. The m18 Hellcat and additional infantry
will reinforce the lower left side of the map. The British command unit
Piatt anti-tank team and Sherman Firefly will come in at the center left
of the map.
On the Germans right side of the table their panther,
second large Fallschirmjager squad and the Panzerfaust anti tank squad
all will come in to the north. The Stug and a third Fallschirmjager squad
will reinforce the southern flank at the bottom right of the map. The
German armored car and Puma will advance down the center right of the
map.
Let the fun begin!
Lt Clarkson cursed to himself. He'd only been able to find
his PIAT squad and dawn was only moments away. As he and the squad
advance down the street they took cover behind a building.
It was then
that he noticed his sniper team crouching down behind some walls off to
his right. Unfortunately it was also at that time when he heard the
unmistakable sound of German armor.
A German Panther advanced into a wooded hillside across the
river and fired at the building that he believed his commando squad was
held up in. This morning was not starting off well.
Sergeant Riley yelled for his men to take cover as the
Panthers round blasted a hole in the building. It was followed very
quickly buy another blast towards the rear of the building.
"Collins get a couple men out back and see what the heck that was!" Riley ordered " That shot couldn't have come from the Panther too"
As Collins tried to get an eye on the additional armor that
had entered the area, the tell-tale sign of an incoming mortar round
made them all hit the deck. Unfortunately a German mortar round hit and
killed the commandos sniper team.
"Blimey blokes where did that come from!" shouted Collins.
At the front of the building sergeant Riley saw in German
armored car advancing down the road and a large unit of German Fallschirmjager advancing from the forest across the river. The German cars auto cannon fired at the building as well as the infantry.
"Everybody down!" Bellowed Riley.
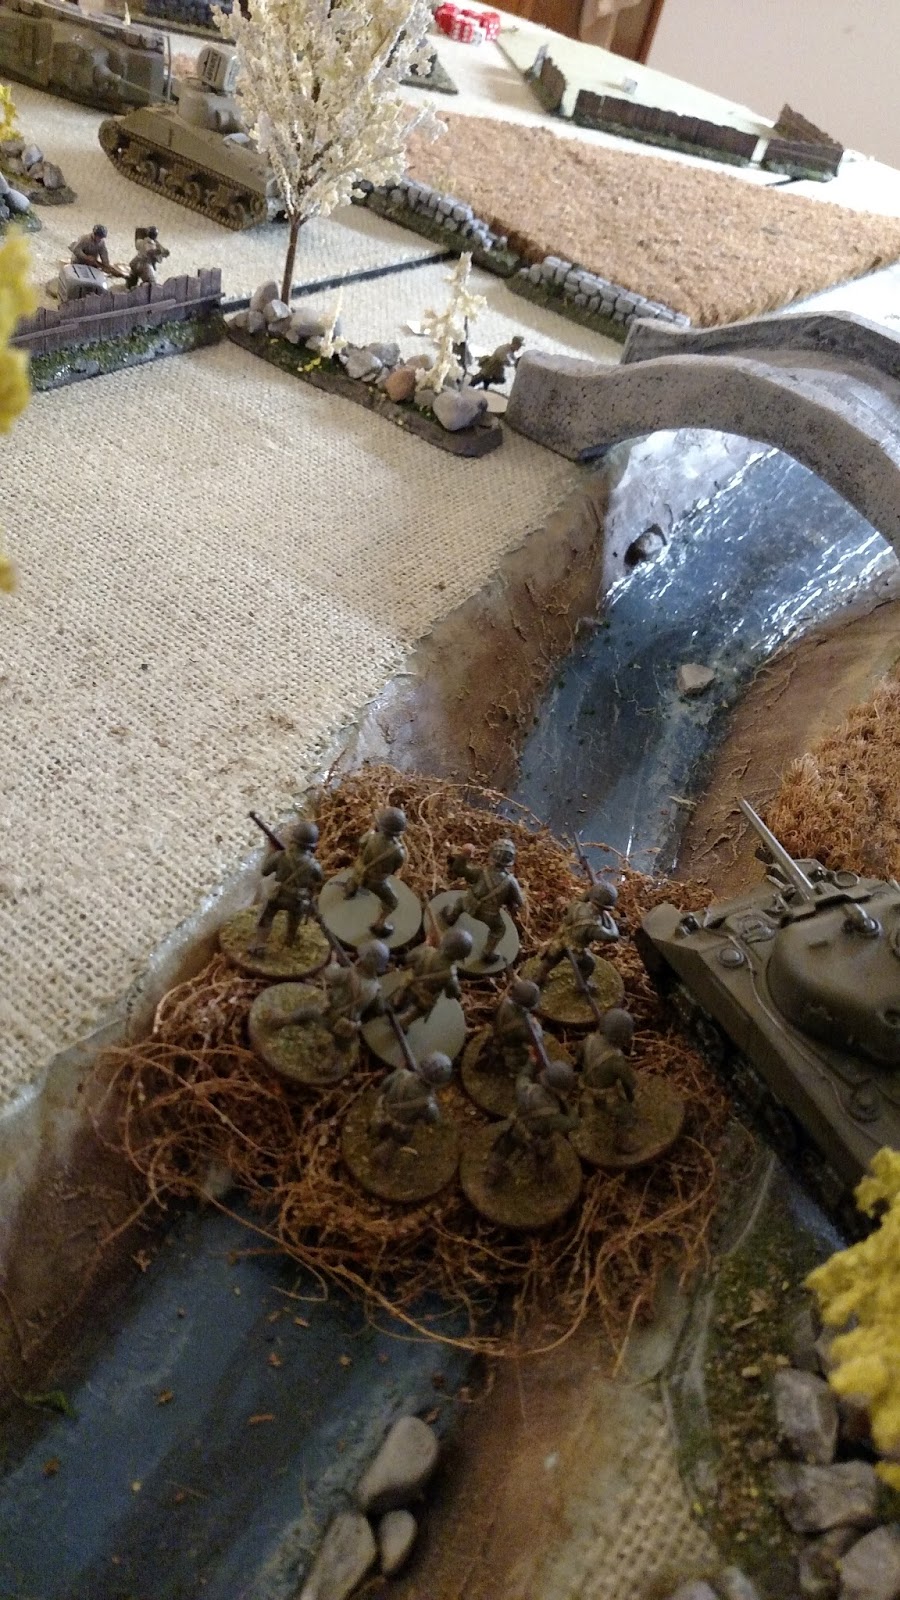
Across the river and behind a stone wall there lurked
another unit of Germans. They chose this moment to come out of hiding
and fire towards the rear of the building.
Sergeant Reilly heard the thudding bullets, the scream and Jenkins yell "Collins is down!"
As the shells continued to slam into the building Riley
urges his men on.
"Come on mates we need to fall back a building before
this thing comes crashing down on us"
Lt Clarkson seeing the other commandos entering the corner
building decides to move out.
"Get the led out boys let's go!" The PIAT team
followed after him as they crossed the street to head for the cover of the
corner building
The US forces finally arrive to aid the beleaguered
commandos. The M18 Hellcat advances and fires at the German armored car
across the river. The shot sales overhead. The German driver realizing
his peril advances to take cover, this also gives him a clear line of
sight to see the British crossing the road. His cannon and machine gun
light up the British PIAT squad and eliminate them.
The American air observer takes position in the tower with the British observer to
get a better view of the battlefield. The US Sherman tank advances but
keeps the cover afforded by the tower. He does fire a high explosive
round at the German mortar team but the shot falls short. US Infantry
show up on the north and the south along with their artillery support.
Turn 3: "Sergeant what's our status!" asks lieutenant Clarkson.
"We lost Collins! and we took a lot of scrapes but everybody else is
holding tight. What now!?" Riley exclaims as shells burst all around the
building.
The drone of a US Thunderbolt fill their ears. The US
fighter bomber targets the German Panther with its rockets and guns and
the German armor erupts into a ball of flame.
The US and German infantry on the north side of the map exchange fire and one German goes down. The German command unit and central Fallschirmjager unit cross the road to take cover in the wooded area. The SdKfz 234 or Puma an 8-Wheeled Armed Reconnaissance Vehicle advances to the bridge and fires for effect only. The armored car moves into the side street to get a better angle on the commandos building and also fires. The only thing hit is the building.
British Firefly finally arrives and advances to the crossroads.
The southern most Fallschirmjager squad advances on the lower bridge attempting to outflank the British.
The southern US infantry move into the woods to block the German advance.
Turn 4:
The British observer calls in artillery bombardment, but connections are bad and the call is delayed. The US airstrike is not delayed and for a second time a P47 lights up the German armor causing the Stug to explode and giving the German mortar team 6 pins! This effectively put them out of the game.
The German Puma falls back from the British Firefly and the central Fallschirmjager infantry advance to the bridge, fire on the US infantry and cause no damage.
The Hellcat advances and fires on the Puma. The heavy shell rips into the Puma destroying the vehicle. The US advance their M4 Sherman and fires its howitzer at the northern most Fallschirmjager unit. The explosion rips up the area and kills three Germans. The Shermans machine gun also gets three hits but fails to wound anyone.
Sgt Riley and his commandos move out of the building and into cover from the bridge. The German mortar team rallies but only remove two of the six pin markers.
Turn 5:
"I need that artillery support" Compton rages on his headset. The British observer watches the Germans advancing and knows time is not with them. "Yes!! The same coordinates!!"
Then the rain of shells fell from the sky. The barrage was on target and filled the designated area just to the west of the bridge with ground-shaking explosions! The German command squad was wiped out and the armored car was shaken but not damaged. The Panzer-Faust team took two pins and the central Fallschirmjagers took three pins.
This encourages the US infantry squad and Sherman to advance and fire at the northern Fallschirmjagers. The Germans suffer additional pins but no additional casualties.
Lt Clarkson, seeing the advancing US infantry, wheels and shouts his orders.
"Riley!! Take the bridge"
"Quite right!!" Sgt Riley responded "Jenkins you and the lads, follow me!!" and with that the Brits charge the bridge laying down a hail of bullets. They get 18 hits but only eliminate three Germans. In retaliation the stalwart commandos take two casualties!
The Hellcat tries to support the commandos attack but fails to hit.
The southern German infantry also fire at the commandos causing two additional casualties. The armored car fires too but only causes a pin. However in retaliation the Brits Firefly destroys the German vehicle.
Turn 6:
The first die fell to the Germans who fire their Fallschirmjagers at the commandos.
"Sergeant!!" cries Jenkins. "As Riley is gunned down by Hitlers buzzsaw! Jenkins stands alone.
"Jenkins! Wait" screams Clarkson as he moves toward the bridge. However in his terrible rage Jenkins charges the German ranks! He takes another German with him to his ultimate demise.

The northern US troops continue to fire and kill another German and the advancing Sherman pounds the far side of the bridge eliminating one more Fallschirmjager.
The US bazooka team advances and fires but fails to hit.
The Firefly charges into action over the bridge and through the German Fallschirmjager squad!
The Germans scatter as the British armor cruises past and their Panzer Faust takes close aim at the side of the Firefly. Tension was high as the projectile hurtled toward the tank, hit and harmlessly bounced off.
Hellcat advances over southern bridge fires and kills one German infantry.
Turn 7:
The southern Fallschirmjagers advance and the Hellcat falls back using its recce move. The German squad fires at the US infantry scoring 11 hits and 3 kills including the US NCO.
The German anti tank team fires at the firefly again, this time they miss altogether. The British tank fires on the unit holding the bridge but only pin them further.
The Sherman big gun removes three more Germans from the objective. The US infantry begin their move to cross at the shallows and fire killing an additional German, leaving only the NCO. He needed a 5 to pass his moral check and rolled a six!! Missing it by 1, he flees the objective.
The last northern Fallschirmjagers fire and kill the US bazooka team and on the southern bridge the Hellcat and infantry combine to kill three additional Germans.
Lt Clarkson and his aide take the bridge! Finally as a parting shot, the US Howitzer finally hits the German mortar team who had been severely pinned. the German team was wiped out. In conclusion the British forces have control of the objective on the final move of the game!
Reflecting on the game, the German armor was terrifying, but were both eliminated by great rolls on the aerial attack table. That's 600 points, eliminated by a 75 point Air Force Forward Observer. For any US player, we highly encourage this unit!!
The allied armor all served their purposes and performed well. The Sherman in suppressing fire to support the infantry, the Hellcat in its anti armor roll and support for the infantry. It's recce rule allows it to get out of harms way most of the time.
The Firefly didn't quite pull its weight but performed admirably as it literally charged into the action.


 The northern US troops continue to fire and kill another German and the advancing Sherman pounds the far side of the bridge eliminating one more Fallschirmjager.