Friday, December 27, 2013

How To: Gingerbread Fortress of Peace and Tranquility

Merry Christmas to all!! In light of this festive time of the year we decided a gingerbread fortress was in order. So, let's show you how to build a beautiful Gingerbread Fortress of Peace and Tranquility.

Our building blocks are going to be graham crackers instead of gingerbread. It works out to be a bit more economical. Pretzel sticks, hard candies and Royal Icing are the remaining ingredients.

We covered a large piece of hardboard and laid out our basic floorplan.

To carve the best thing we found was the hobby/dental tool with the spatula shaped blade. For holes, the pointed one worked the best.

It's best to take many shallow strokes to cut your piece out. The fresher the crackers the harder they are to cut. This is going to be a tower window.

Starting at the left side of the fortress we began to assemble the walls. We placed our royal icing in a plastic freezer bag and cut a corner out of it to squeeze out the icing.

Here we are working over to the right side. If you carve out any doorways and can keep them intact, you'll want them for later.

The easy way to build is placing the icing on one side and the bottom . . .

then pressing into place.

The first floor is almost all walled up!

Now we start running the lights!! We planned two light for each tower and three lights for the main building.
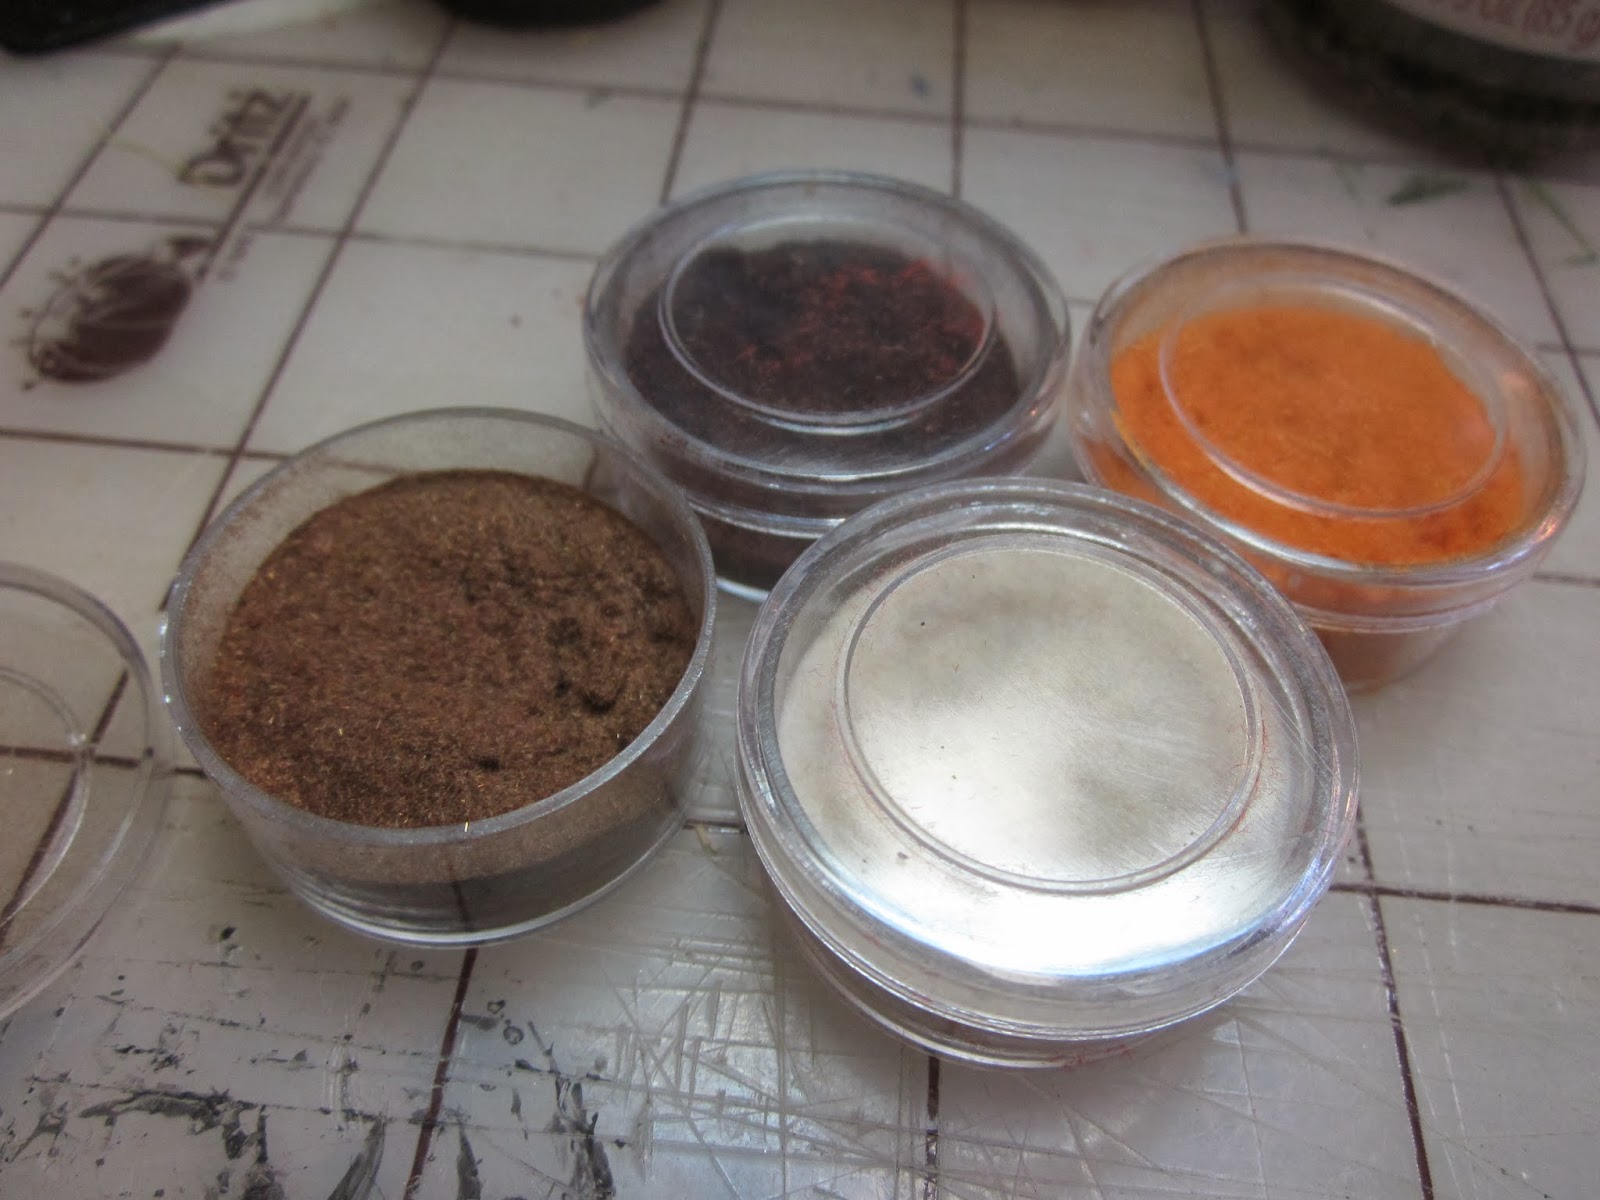
We'll also be including 6 yellow LED, 5 red LED and one servo motor.

If you decide as we did to add spacers in tall towers for support, remember to cut holes out to pass wires through

Next we wanted glass in our windows and used the hard candies for "stained glass". You can crush the candy in its rapper or plastic bag using a hammer. place some of the pieces on cooking parchment and heat in the oven on low heat til it melts.

Let it cool and harden. Then you can cut or break it to fit in your window openings. Use the royal icing to glue the windows in place.

Another way is to place your gingerbread/graham crackers, with openings already cut, on the parchment and insert the crushed candy in the openings.

Here's a basic window in place.

You can mix and match colors for variety. This tower section received a green and yellow upper window and a red lower one.

Once all the LED wires were installed the roof for the first floor went into place.

One LED and our servo were run out the front for the gatehouse.

The roof had a hole cut into it for the servo arm to go through. The motor portion was glued to the bottom with the royal icing. Once it set up we put the roof on he gatehouse and added a palisade wall made from our pretzel sticks. This hides the wires quite well.

Our leftmost tower received a door and walkway to the main section.

The cathedral section with rosette stained glass window was next. Our four walls were built and ready so we slathered royal icing liberally on the opening

The front wall with window was carefully cut from two graham cracker sections and the colored candy and sugar was painstakingly oriented in the circle and it was placed in the oven with this result. The side walls were attached to stabilize it and lastly the rear section.

Then let it dry so the icing will harden before adding any roof.

We finished the right rear tower while waiting.

As things got close to finished, the front right tower was given a peaked roof, the gatehouse rotating top was given a candy cane dual barrel Gatling gun, the left courtyard palisade was pit in place and finally the roof was added to the cathedral section of our fortress.

The walkway had some supports added for good measure.

One Gatling gun did not seem sufficient to defend our fortress and keep it tranquil so we decided to add a couple turrets to the two tallest towers. We cut two cracker discs and five armored wall sections plus two pretzel stick barrels. Using our pointed carving too we drilled out the gun barrels and cut holes in each disc so our LED could be run through.

Each gun was placed, the LED run through and then attached to the tower with a hefty amount of icing.

There you have it in the daylight!


And here you can see the LED configuration and interior lighting. The LEDs have different blinking configurations and run off a small USB powered board. 

For the 12 interior lights we hooked them up to a transformer from a train set.

Additional candy and icing decorations will be added in the very near future, but there you have it for today!!

Have a great battle,
The Old Crow

Saturday, December 21, 2013

New Release: The Hobbit: The Desolation of Smaug from Games Workshop

The Hobbit: The Desolation of Smaug

Games Workshop New Release of The Hobbit: The Desolation of Smaug!

This expansion provides a wealth of supplemental rules, which recreate the events of the film on your tabletop. This 64-page, full colour, softback expansion for The Hobbit: An Unexpected Journey includes:
· 8 brand new scenarios recreating the action-packed events in The Desolation of Smaug.
· Rules for linking your games with Thorin’s Company into a dynamic narrative.
· Rules for fighting in the realm of Mirkwood, and 3 new Points Match Scenarios.
· A gallery showcasing several hobbyists’ collections of Citadel miniatures, inspired by the warriors of Middle-earth and the events of the movies.
· An ‘Eavy Metal masterclass of Gandalf the Grey.
· Profiles and rules for the Good and Evil miniatures

This is an expansion so you will require a copy of The Hobbit: An Unexpected Journey Strategy Battle Game rules manual, or The Hobbit: Escape From Goblin Town boxed game, to use this expansion.

Now onto the new figures for your collection of Citadel miniatures.

The Hobbit: The Desolation of Smaug - Beorn
Beorn is the burly "skin changer" woodsman whose home is on the outskirts of Mirkwood. Beorn has the power to adopt the form of a bear that he so uncannily resembles.

The kit contains 3 components with which to make Beorn armed with a two-handed axe.

The Hobbit: The Desolation of Smaug - Thranduil King of Mirkwood
Thranduil, King of Mirkwood is a mighty king whose realm faces a dire threat in the rising power of the Necromancer of Dol Guldur. Beset from all sides, Thranduil maintains a vigilant guard upon his realm.

The Hobbit: The Desolation of Smaug - Thranduil King of Mirkwood
The resin kit contains 2 components with which to make Thranduil armed with an Elven blade.

The Hobbit: The Desolation of Smaug - Legolas
Legolas Greenleaf is the son of Thranduil and thus prince of Mirkwood. Legolas is an exceptional warrior, even by Elven standards. His skill with his bow ensures his father’s domain is kept safe.

The Hobbit: The Desolation of Smaug - Legolas
This plastic kit contains 5 components with which to make Legolas Greenleaf armed with a bow and 2 daggers. He is dynamically posed atop a tree trunk, poised to strike at any invaders of Mirkwood.

The Hobbit: The Desolation of Smaug - Tauriel
Tauriel is a warrior in the kingdom of Thranduil, a formidable fighter and ranger patrol leader.

The Hobbit: The Desolation of Smaug - Tauriel
Her status makes her an unlikely ally in the Dwarves’ quest to Erebor.

The Hobbit: The Desolation of Smaug - Tauriel
This plastic kit contains 6 components with which to make Tauriel armed with a bow and 2 daggers.


The Hobbit: The Desolation of Smaug - Barrells Out Of Bond
Barrels out of Bond literally contains the Dwarves of Thorin’s Company making their escape from the dungeons of Thranduil by hiding in the barrels and floating down the Forest River.

This resin kit contains 15 components with which to make Barrels out of Bond, containing all thirteen Dwarves of Thorin’s Company, and Bilbo Baggins™.

The Hobbit: The Desolation of Smaug - Mirkwood Rangers
Travelling through Mirkwood is a perilous undertaking. Mirkwood Rangers show no fear for they are hunters without peer and deadly warriors one and all.

The Hobbit: The Desolation of Smaug - Mirkwood Rangers
The contents of this box contains 23 components with which to make 10 Mirkwood Rangers, of which 5 are male and 5 are female. You can tell them apart, particularly by the fact that the female Elves have the curved bows.

The Hobbit: The Desolation of Smaug - Mirkwood Rangers
Each miniature is made in a fixed pose, and they are designed to look like skirmishers. Each model is armed with a bow and daggers.


As always, all of The Hobbit: The Desolation of Smaug kits come unpainted and require assembly.

Have A Great Battle!
The Old Crow

Friday, December 6, 2013

New Release: Plastic M3A1 Half-Track for Bolt Action

Out now is Warlord Games' all-new plastic M3A1 half-track kit for Bolt Action! The new plastic half-track is a replacement for the previous resin version, and while they may look identical at first glance, there are some important improvements:

As those who have put together any resin vehicle will testify, plastic models have a lot of advantages.
First the parts require less cleaning,
Second you can use plastic glue instead of superglue to stick them together,
Third they are far faster to assemble (which is important if you're building a platoon!).
Last, they are also lighter to carry around, and less breakable, too.

The M3A1 plastic half-track has noticeably sharper details than its resin predecessor. It also comes with two optional front fenders to choose from, as well as a collection of stowage – including spare helmets, backpacks, and fuel cans – that you can use to ensure each vehicle looks unique.

The kit also comes with a highly detailed full-color waterslide decal sheet with U.S. Army and Free French options. Not only that, Warlord Games has a US Armored Fist boxed set, containing three half-tracks and 30 U.S. infantry, ready to assault the enemy head-on!

One of the most iconic pieces of hardware in US Military history, over 40,000 M3 half-tracks were produced during World War II with many thousands of similar models also being supplied to their allies.

The M3A1 was ideally suited to rushing troops to the front and through gaps in the enemy lines. With a top speed of 45 mph, and armoured enough to keep out most small arms fire, they performed admirably in this role.

They had a crew of three men and could carry ten fully equipped troops. There were many variations on the chassis including tank destroyers, mortar carriers and ambulances, but most frequent by far were the M3A1 with its armament of a heavy .50 cal heavy machine gun and two or more .30 cal machine guns.

Monday, December 2, 2013

How To: Build an Artillery Emplacement - Part Two

Last post we started to build our artillery emplacement and in part two we'll show you how to paint and finish it! Here's the final project with our dwarf canon.

In Part One we assembled the emplacement and had it primed in black. Next we added a basecoat of muddy green

Then a coat of Burnt Umber and a lighter coat of Coffee Bean.

Next we added touches of English Ivy in the lower portions outside the emplacement.

Finally a dry-brush of Territorial Beige to bring out the details and add highlights to the emplacement.


The dry-brush really makes the ruts stand out.

The wooden interior walls were given a light coat of Barn Wood to differentiate them from the dirt interior.

Now for some weeds and foliage. We have a straw broom which we pull out a few pieces and trim them for our fall weeds.

Use a pin drill to add a few holes. Gathering a group of the trimmed strands, add some glue into the hole and insert several of the strands. Make sure the strands vary in height for a natural appearance.

Now for leafy ground cover, we placed spots of glue into several recesses and lower areas. Then we took a mixture of flocking, ballast and seasoning and sprinkled it onto the areas of glue.

We also found some fall colored flocking to add to our mixture.

Once the mixture is on, press it into the glue and then shake off the extra to be put back into your container.

For a final touches we added a few dry shrubs to the exterior and...

... inside along the walls we placed a mixture of medium ballast and sand then topped it off with a bit of the ground cover.

Now we add an Empire Great Canon and crew and wait for the enemy to advance into our field of fire.

It's always good to add extras like barrels, tools, canon balls, powder kegs and similar items.

This emplacement could be used for Warhammer Fantasy, Napoleonic Historical or Warhammer 40k.

Also any other Sci-Fi and any alternative games like maybe some new Steampunk light artillery for In Her Majesty's Name.

There you have it, the dwarves can now defend the pass to their mountain stronghold.

Let us know what you like about this or any other posts you'd like to see.

Have a Great Battle!
The Old Crow