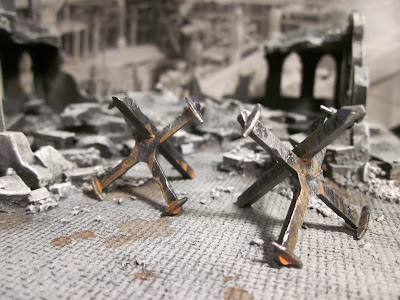
In the last "How To" build a bunker tutorial we displayed some tank traps around the bunker. We also mentioned showing you how we made them, so here we go.
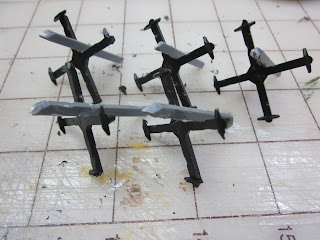
We used these sprue pieces for our basic building blocks. The "X" sprue will be our centerpiece.
The cross beam should be cut just a bit longer than the length of the center. Trim as much of the extras off to suit.
Using a hobby knife, remove chunks from the edges and scrape some lines in for battle damage. You can also add small impressions for bullet hits using a pin drill.
After scraping and cutting you should have pieces similar to these for your tank traps.
Glue the cross piece onto the central X with about two thirds below, or toward the ground, and one third above, or pointing toward the sky.
Here they are from the rear. You can see the distance between up and down better.
We primed them all in black as usual
Painting your tank traps is quick and easy. We gave them a rough coat of Gunmetal Gray and then a light coat of Aluminum to highlight edges. Make sure brush strokes are mostly "vertical" based on the tank traps perspective. This will help give the weathered look. Finish them by adding a wash of Terra Cotta or another similar orange to simulate rust
And there you have it. Some more recycled terrain! Tank Traps for your war-gaming suitable for stopping a charging Rhino or Razorback!
Have a Great Battle,
The Old Crow


No comments:
Post a Comment