 We're taking a siege break but will be back with at least two additional posts so stay tuned!
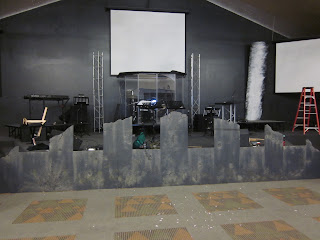
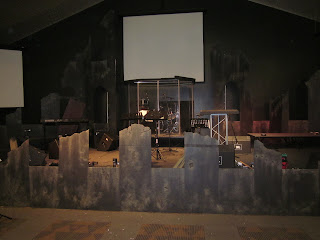
Now, one of most popular blog posts has been How to Build Warhammer 40k Building Ruins. It was liked so much by someone who saw the "Practical Modelling" post we were asked to super size it for a stage backdrop. Here you see it in action, now we'll show you how to build your very own!
Start with 4 x 8 foot sheets of polystyrene insulation board. We'd recommend at least 1" thickness or greater for the vertical boards. The thinner boards are not as rigid and will bend.
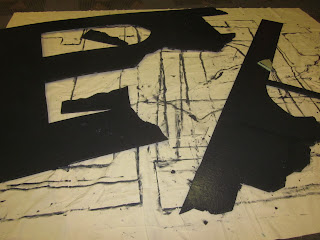
We used 10 of the boards on the entire set. Above is the left side and here is the right, placed in the pattern to be cut. You can see approximate placement of the door and windows.
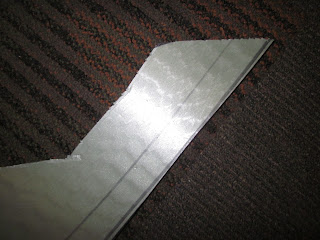
The front of the stage will use three more boards. Here the left side has been cut out using a utility knife.
And the right side is cut to the pattern.
Don't worry to much about straight lines, you'll never notice once everything is installed and weathered.
Here you see the same piece weathered by beating on it with implements of destruction! Also the edges were broken off for a rougher appearance. You can do this with a knife, saw blade or your fingers.
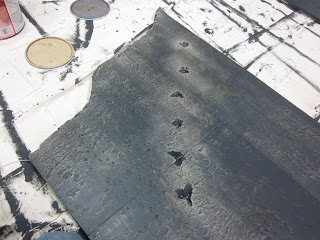
We gouged out bullet holes with the utility knife by sticking it in at a 45 degree angle and spinning it around.
To hold the pieces together we back the seams with spare chunks of foam and use coarse thread screws.
Now to test the size and design in place before painting starts. All worked out well...
now the right side (sorry for the blurry image).
Here is one of the foreground pieces being weathered with blast marks.
When painting, use drop cloths or a surface you don't mind getting paint on! This will get messy.
Everything was coated with a dark grey to start.
A dark brown was added to simulate dirt, mud and debris flying around during the explosions.
Finally the light grey was dry-brushed on to make the details (like cracks and bullet holes) and edges stand out.
Here all 24 feet of the three foreground boards are being installed.
This is the right side after all the dry-brushing was finished.
And here's the left ready to go. A brace was placed across the doorway opening to support the board when being moved. it'll be removed later.
The finishing touches being applied after installation.
Right side adjustments being made
Left side is in. It is 16 feet tall and 16 feet across at the bottom.
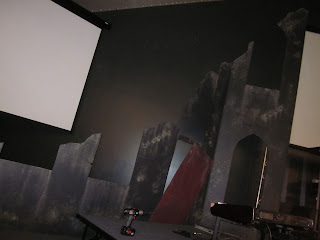
And there it is, ready for action.
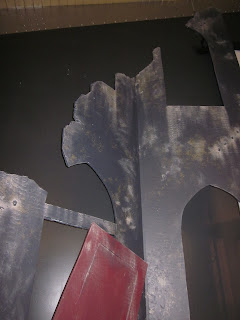
Here's a nice shot of the left side peak.
Now add some fantastic apocalyptic lighting and you're ready to go. If you want to see it in person and are in the Pittsburgh Pa area, drop us a note or leave a comment.
Final lighting was worked out for maximum affect.
We hope you like it as much as we enjoyed building it. The whole project took two days to build and install.
Enough for now,
Have a Great Battle,
The Old Crow









No comments:
Post a Comment