To start you'll need a base, we used some 12 inch foam to carve our hill. You'll also need a piece of fabric, something natural looking, three round toothpicks and a stick you can cut down. We cut a 3" and two 1.25" segments.
Next we carved the hill into a rough shape that would hold a tent 3 inches long.
We then notched a point at the ends of our short sticks for the uprights.
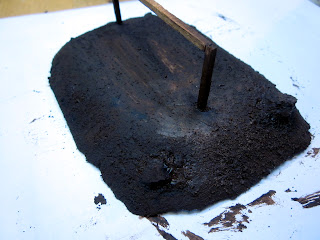
After sanding the roughness off the hill, we measured the length of our support and placed the uprights into the foam. Once positioned we removed them, filled the hole with some glue and stuck them back in. Before it dried we glued the crossbar in place and pressed it together.
We added some areas of glue and attached small rocks and a mix of sand and medium ballast.
After it was set we painted the entire surface dark brown with sand in the paint for extra texture.
When it dries, you can dry-brush on some layers of lighter browns and greens if you want a grassy knoll.
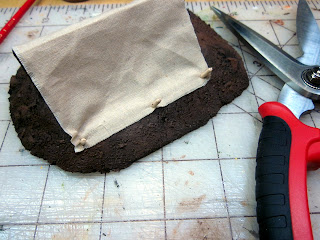
Next make sure your material is the same length as your support, ours is 3", and trim the cloth to roughly a square. Fold it in half and crease it if you can. This will lie across the support.
Take your round toothpicks and insert them into one of the sides at the corners and then the center.
Clip off the extra length, leaving tent pegs behind.
Using the pieces clipped off, repeat these steps on the other side. Be sure to keep the material tight.
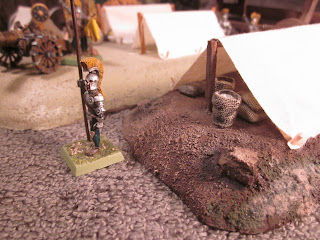
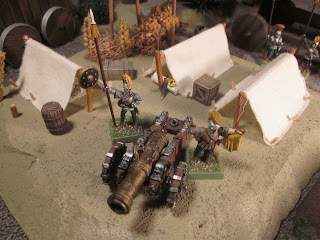
We added a few tufts of static grass for texture. and filled the supply tent with crates, barrels and sacks.
And that's how to build tents for your besiegers.
This one wound up being a siege supply tent.
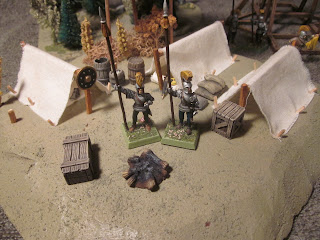
Add more tents to a larger base for making bigger terrain pieces with additional scenery bits like trees and shrubs. We even have stumps from felled trees in this piece plus a campfire. The trebuchet is set up beside the camp for easier access to fire.
We'll leave you with a few additional photos and wish you a great battle!
The Old Crow







Fantastic! I'll try to do the same one...great blog too!
ReplyDeletePhil.
Thanks Phil, Glad you are enjoying the blog, we always
Deleteappreciate the comments.