Showing posts with label Dreadnought. Show all posts

Sunday, July 6, 2014

Warhammer 40k Dreadnought Conversion - Part 2

OK the first Warhammer Dreadnought conversion went well so onto Part 2! As mentioned previously, the two dreadnoughts were picked up from eBay and cost less than one new one. So cutting them up wasn't a problem. In our scenario of the lost legion, these guys are stranded and have to repair and replace things with whatever they can. This guy had a duel Lascannon for it's right arm and we cut it up to look like it took a direct hit or exploded from overuse.

We had a random spare gun in our parts bin and a piece of plastic tubing to beef up the barrel. The existing barrel was trimmed and shaved to receive the new one. For theme sake we figured it was a local area turret mounted cannon that was scavenged and made to fit the Dreadnought.

It was attached to the outside of the arm in a manner to look integrated on the fly. A spare computer part was added as a gravity feed ammo clip.

Extra armor plating was added and was intentionally rough cut to go with our theme. Some traditional stowage and more futuristic looking parts were placed on the top between the shoulders.

This was the circuit board from a network switch and we felt the indicator lights looked like missile pods. Four of the pairs were cut off the board and glued together. A second part will be added as the "mounting" bracket


Additional components were added as communication equipment, a rear mounted cooling system was attached...

and the assembly was mounted on the left arm.

Here you can see the "cooling system" and the lower part is a mounting-reloading arm attachment we created from additional spare computer parts.

Extra armor plates were attached to the left torso and right lower leg and we primed him with the same Italian Olive as the first Dreadnought.

Now he's ready for painting too!

Here's a great view of the rear mounting of the missile pod.

And there you have it, next we'll get to some troops and possibly a transport or two.

Have a Great Battle,
The Old Crow

Wednesday, July 2, 2014

Warhammer 40k Dreadnought Conversion

After a really rough June which included a high school graduate, a college graduate and a wedding I finally have a minute to breath! Sorry for the lack of posts but hopefully you understand to some degree, Now on to modelling.

Warhammer 40k Dreadnought Conversion
Had picked up a few Warhammer Dreadnoughts on eBay with plans on doing some conversions and finally got the project underway. To start all the upper markings and skulls were shaved off and the arms removed. Battle damage was added over the entire model. The goal was to make this guy look like he's been out on his own for a while. So repairs had to be made with whatever was scavenged from the battlefield and parts would need to be taken along in case something was damaged.

Warhammer 40k Dreadnought Conversion
The Power Fist had the same battle scarring treatment and removed markings

Warhammer 40k Dreadnought Conversion
For the other arm we went for the Assault Cannon with modifications. Originally we were going to add a larger barrel but decided on another route.

Warhammer 40k Dreadnought Conversion
Going through the recycled parts bins I found a few items to use on this conversion. The silver gun looking part on the left is what was used to modify the autocanon.

Warhammer 40k Dreadnought Conversion
Also picked up a "Stowage" pack from Warlord Games to be used on a few different projects.

Warhammer 40k Dreadnought Conversion
OK the first addition were extra armored plates that resembled Tau parts that may have been taken from a deceased battlesuit.

Warhammer 40k Dreadnought Conversion
Planning on stowage, we extended the exhaust pipes. We removed the markings from the rear too.

Warhammer 40k Dreadnought Conversion
Here he is with the first parts added. A piece was attached to the hip joint to appear as a repair from non-conventional parts.

Warhammer 40k Dreadnought Conversion
Next came the stowage. After playing around with a couple variations we settled on this configuration.

Warhammer 40k Dreadnought Conversion
We wanted futuristic stowage too. Here is the first non-traditional stowage container. To hold it on it would need tied down somehow. We applied some superglue gel and placed two pieces of string onto the top of the dreadnought. Then we stuck the part on top of it.

Warhammer 40k Dreadnought Conversion
Once it dried, we pulled the two pieces over and tucked them under the shoulder. We secured them with additional gel

Warhammer 40k Dreadnought Conversion
Next we found some gear like parts and ran thread through them. We glued the parts together before attaching them.

Warhammer 40k Dreadnought Conversion
Before gluing the gears on we added two additional pieces of thread. These will go over the last two pieces of futuristic stowage containers.
As before, once it dried we pulled the thread over and tucked it under the shoulder armor.

Warhammer 40k Dreadnought Conversion
A quick coat of Italian Olive primer and this guy is ready for painting. But before that, off to Dreadnought number two. Stay tuned for more!

Warhammer 40k Dreadnought Conversion
Here's a few parting shots of the finished Dreadnought conversion!

Warhammer 40k Dreadnought Conversion
Have a Great Battle,
The Old Crow

Warhammer 40k Dreadnought Conversion

Monday, May 12, 2014

Projects On The Workbench - Dreaming Big!!

Life is always crazy and thus impedes the crafting of armies and miniature paraphernalia. There is no exception here at Battleground Hobbies. We have many a project either dreamed up, planned or underway.

First, there is another building to go with the Half Timber Houses we created during the Miniature Building Class. There is also a Tower and Gatehouse combo planned too.

Then we have some British Napoleonic era cannons started...

A Warhammer 40k Space Marine army is also on the table. We picked up some Dreadnoughts and a squad of marines off eBay and started cutting. We'll be modifying these guys and adding another vehicle of sorts.

Then we have some terrain underway. This will be part of a painting tutorial in the near future.

Lastly, we were able to recycle a large printer and came up with this batch of lovely components for an In Her Majesty's Name steampunk project.

One, some or all of these should wind up here on the blog! So til then...
Have a Great Battle,
The Old Crow

Friday, July 6, 2012

Warhammer 40K Terrain How To - Part Three - Buildings and Ruins

Warhammer 40k Terrain Pieces
Alrighty then! Here we are in part three of our how to build Warhammer 40k Terrain for our battlefield. Let's make some ruined buildings for our terrain collection.

When we're done it should look like this with part one and two added.

Building Warhammer 40k Ruins
We started with a basic pattern for the corner of our building. Using peaks on the windows fits in with the Warhammer 40k world better than squares. The same goes for peaks on the top. You can break off the wall at any height or width you prefer. Ours is 3 stories tall at the highest and five windows wide

Building Warhammer 40k Ruins
These will be ruins so don't worry to much if your cuts aren't precise. We are using foam-core this time for ease of cutting. This is our rear corner, only one story left back there.

Building Warhammer 40k Ruins
For the cuts on the edges, these are walls that have been "blown up" so don't worry if you need to tear things off. The rougher the cuts look the better the paint job will look.

Building Warhammer 40k Ruins
For corners, trim off the thickness of the foam-core from the facing and the foam. Be careful not to cut through the backing. Apply a bead of hot glue down the corner and press the two parts together. You can use pva or craft glue but you'll need to leave the pieces to dry before proceeding. The hot glue dries solid, quick and a good way to keep your project rolling.

Building Warhammer 40k Ruins
Next get hold of some press board, we used a cereal box. Cut strips the height of your structure and about 1/4 inch wide.

Building Warhammer 40k Ruins
Glue those strips vertically between the windows. We cut door frames too and placed them in the gaps where we left windows out. We cut a 12 inch square piece of MDF board for our base.

Building Warhammer 40k Ruins
We took leftover pieces of foam-core and insulation foam broke them up and used them for rubble. We added some of the sprue sticks we made in the last "How-To". Use hot glue for the large chunks.

Building Warhammer 40k Ruins
We added piles of coarse ballast and "bits" we also made in the last tutorial. For these we used regular pva or craft glue. Spread as much or little as needed to secure the piles.

Building Warhammer 40k Ruins
Here's what we have so far. Good pile of rubble where the floors would have collapsed into.

Building Warhammer 40k Ruins
From the air it looks like so.

Now onto the painting. We had some latex paint with sand and ballast already mixed in but wanted to add more for the rubble.

Building Warhammer 40k Ruins
Using a large brush, start applying it liberally in all areas.

Building Warhammer 40k Ruins
Coat the fronts of your buildings too. Use vertical strokes so when you do the final painting steps it'll look great.

Building Warhammer 40k Ruins
Once everything is coated and dried, we applied a coat of black primer to finally seal everything in.

Building Warhammer 40k Ruins
Next, using a 1/2 inch brush apply a heavy dry-brush of dark gray

Painting Warhammer 40k Ruins
Apply to all sides...


Then continue with a heavy dry-brush of medium gray..

Painting Warhammer 40k Ruins
Then add slate gray....

Painting Warhammer 40k Ruins
When doing the buildings, use vertical strokes from the top down and especially under the windows.

Painting Warhammer 40k Ruins
This is where the weathering affects add to your terrain piece

Painting Warhammer 40k Ruins
We added a coat a light gray dry brush over most of the structure and then a light dry-brush of warm white over the very tops of debris and where weathering would be the heaviest like near the top of the building.

Painting Warhammer 40k Ruins
Here's the final dry-brush coat applied.

Painting Warhammer 40k Ruins
The rubble details come out with the final bright touches of warm white.

We feel it's lookin good from the back.

Painting Warhammer 40k Ruins
For the final touches we added splashes of Burnt Umber wash where any mud might be along the base.

Painting Warhammer 40k Ruins
So here it is. A beautiful piece of terrain to go along with your statue, courtyard and barricades.

Now you can use it as an ideal spot for your Tau Pathfinders..
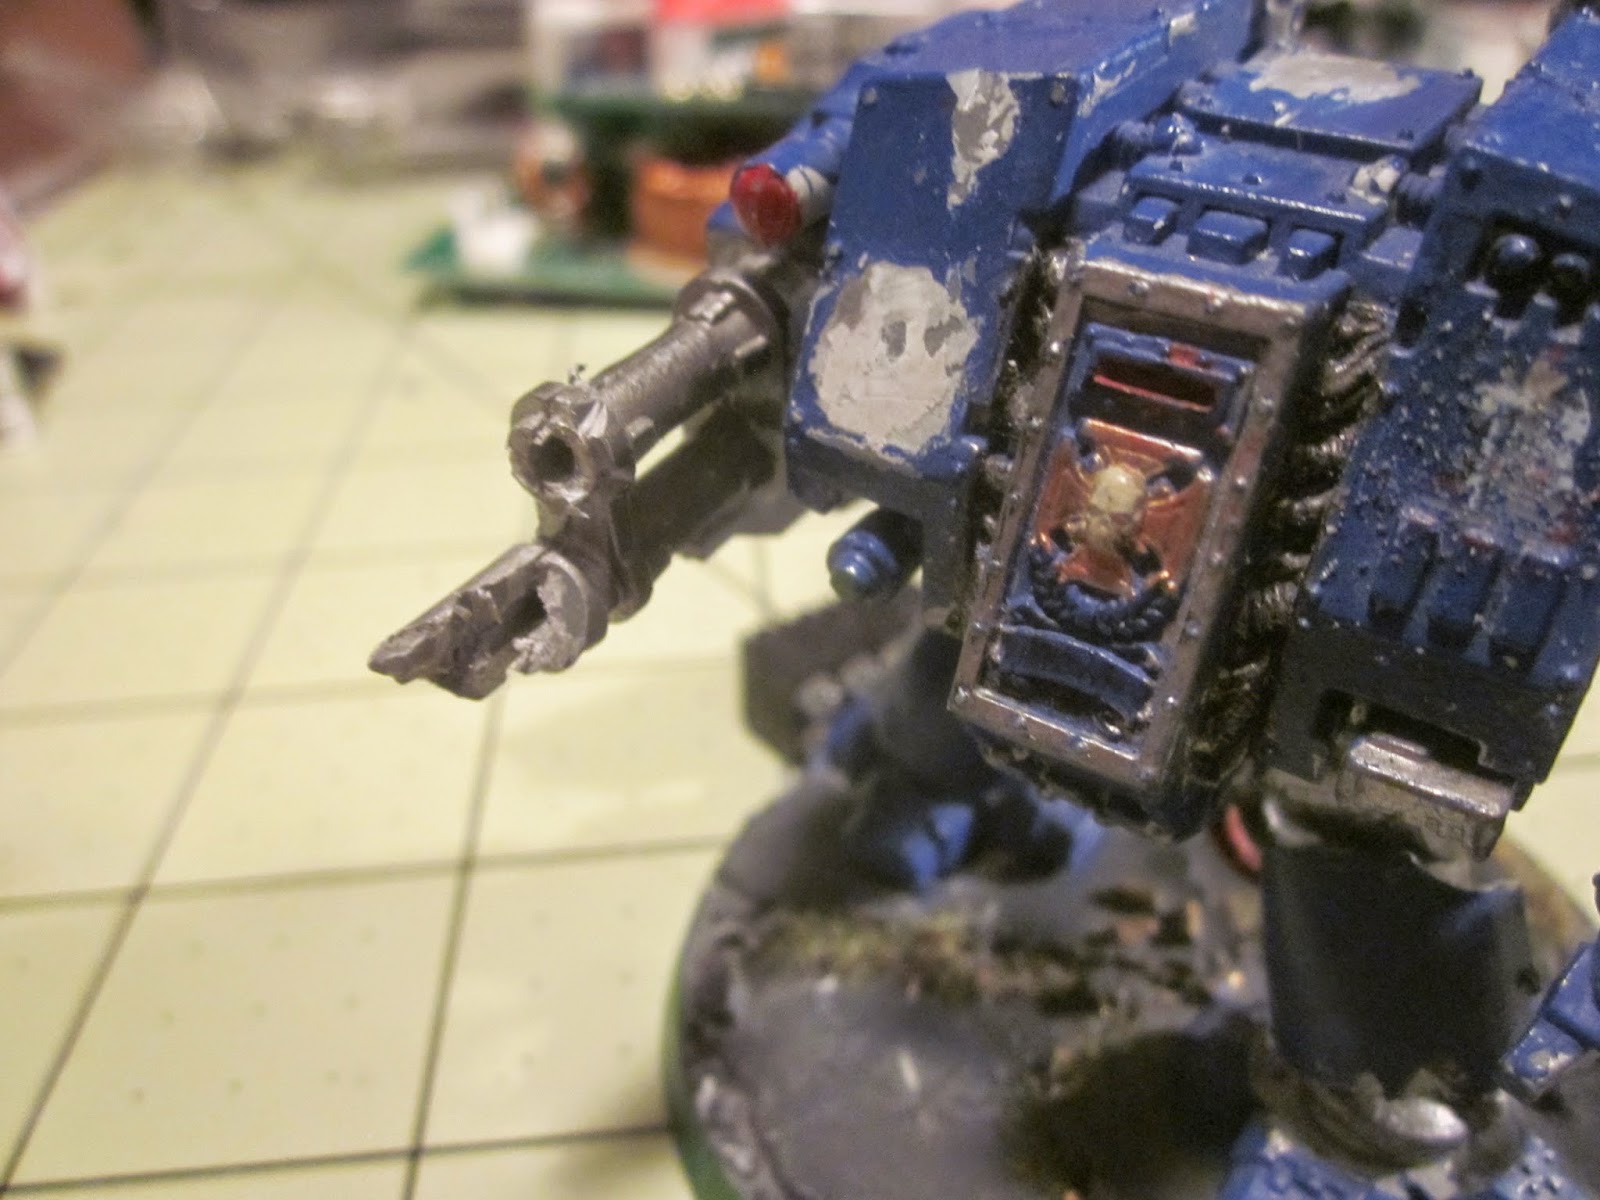
Somewhere where a lone Blood Angels Sergeant  can hold out against a horde of greenskins

With the new allied rules you can have a last remnant of a Space Marine squad and Dreadnought  join up with a few Tau Pathfinders and Stealth team.

So now go have a great battle!
The Old Crow