Showing posts with label Raygun. Show all posts

Wednesday, November 7, 2012

How To Make a Steampunk Pump Action Raygun Rifle

Here we go, one more How to build! A Steampunk rifle for our Vostroyan Costume.

This time we needed a rifle of some sort. We started with a pump action airsoft shotgun we purchased for about 35.00.

And here we have an assortment of old parts from the parts bin.

We hot glued a couple capacitors and plastic pieces to the back of the receiver.

Using the Rustoleum Hammered metal paint again we sprayed the barrel, action bar and the receiver.
We painted the ventilated top rib with the bronze color hammered metal.

We sprayed the forestock and stock with a textured paint to simulate the wood-grain.

After spraying some capacitors with the bronze hammered paint we hot glued them to the top. Drilling small holes in the top and bottom of the plastic pieces we inserted copper wire as you can see. We also attached copper wire to the capacitors and added a coil around the top one.

Taking a couple plastic gears, we sprayed them too. Inserting an old brass key, through the two gears we carefully hot glued it to the pin from the motor. This allows the key and gears to turn.

Hot gluing the motor assembly to the receiver and adding several other copper parts, we created a pretty interesting assembly. I'd say it looks like an adjustable transducer to the flux capacitor.

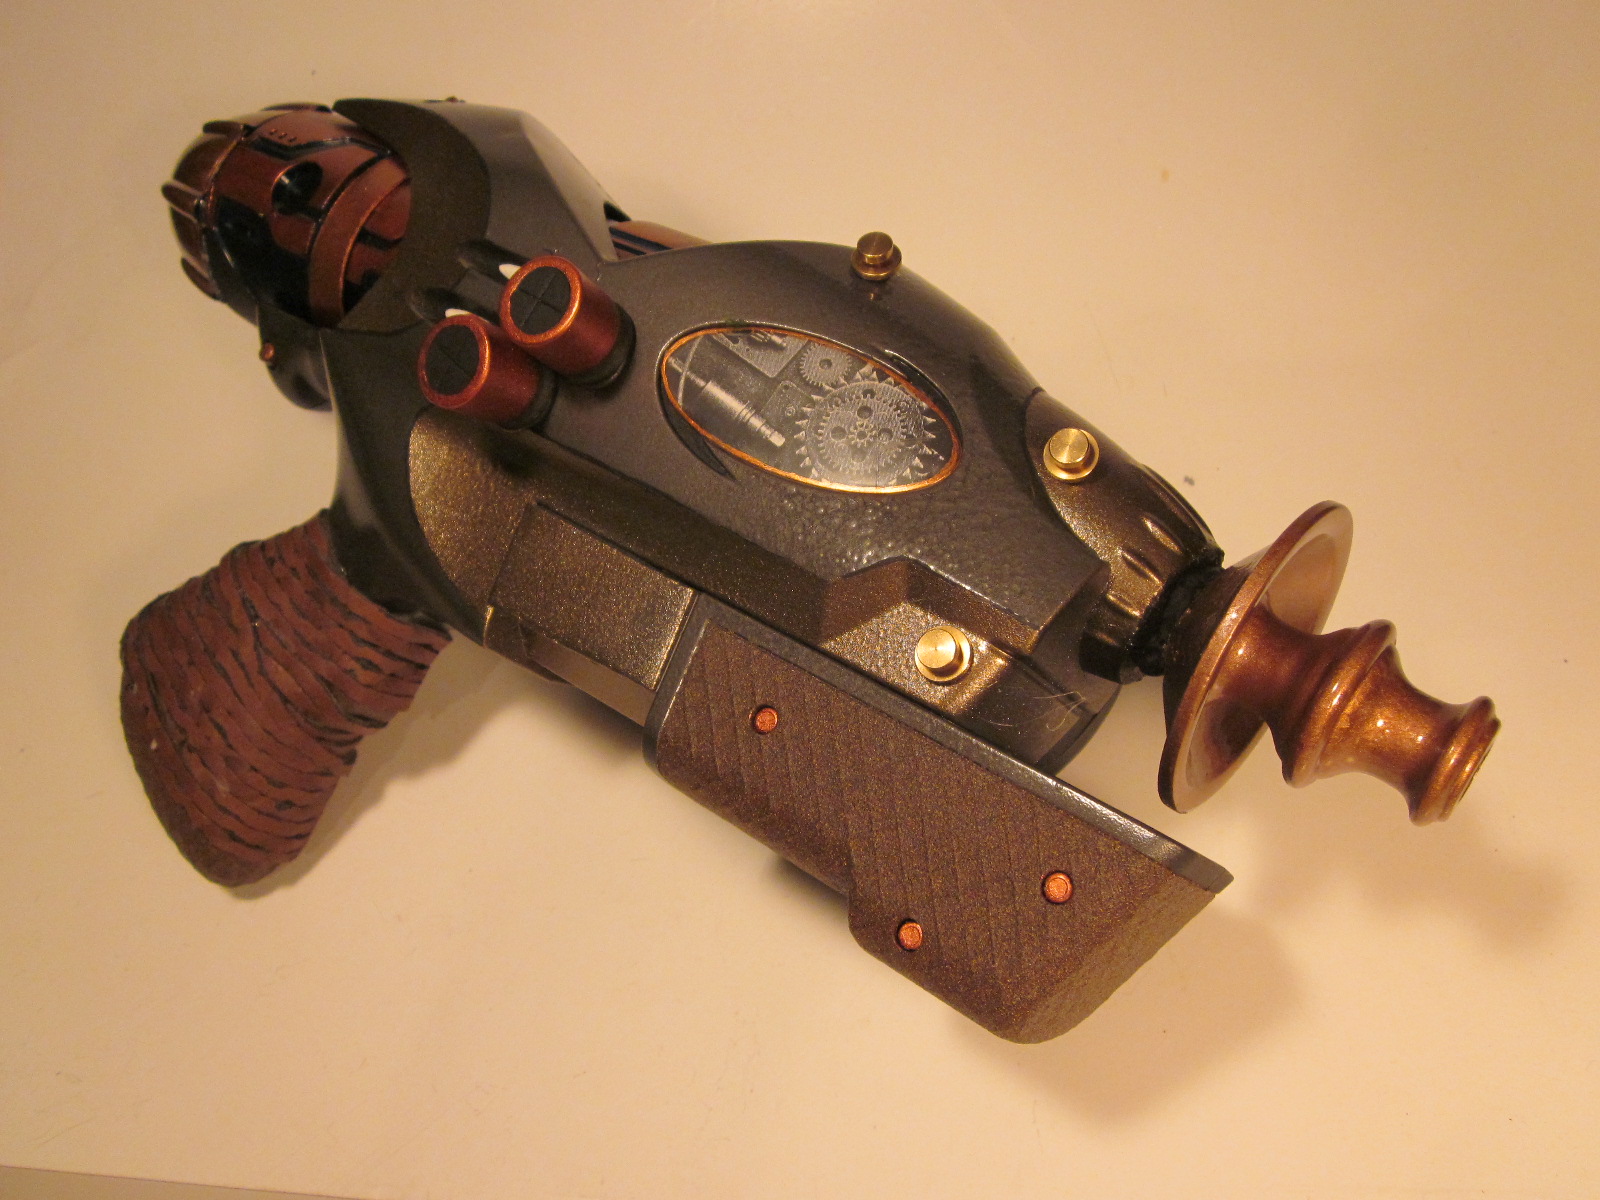
Lastly we painted and attached part of a candlestick to the front of the barrel.

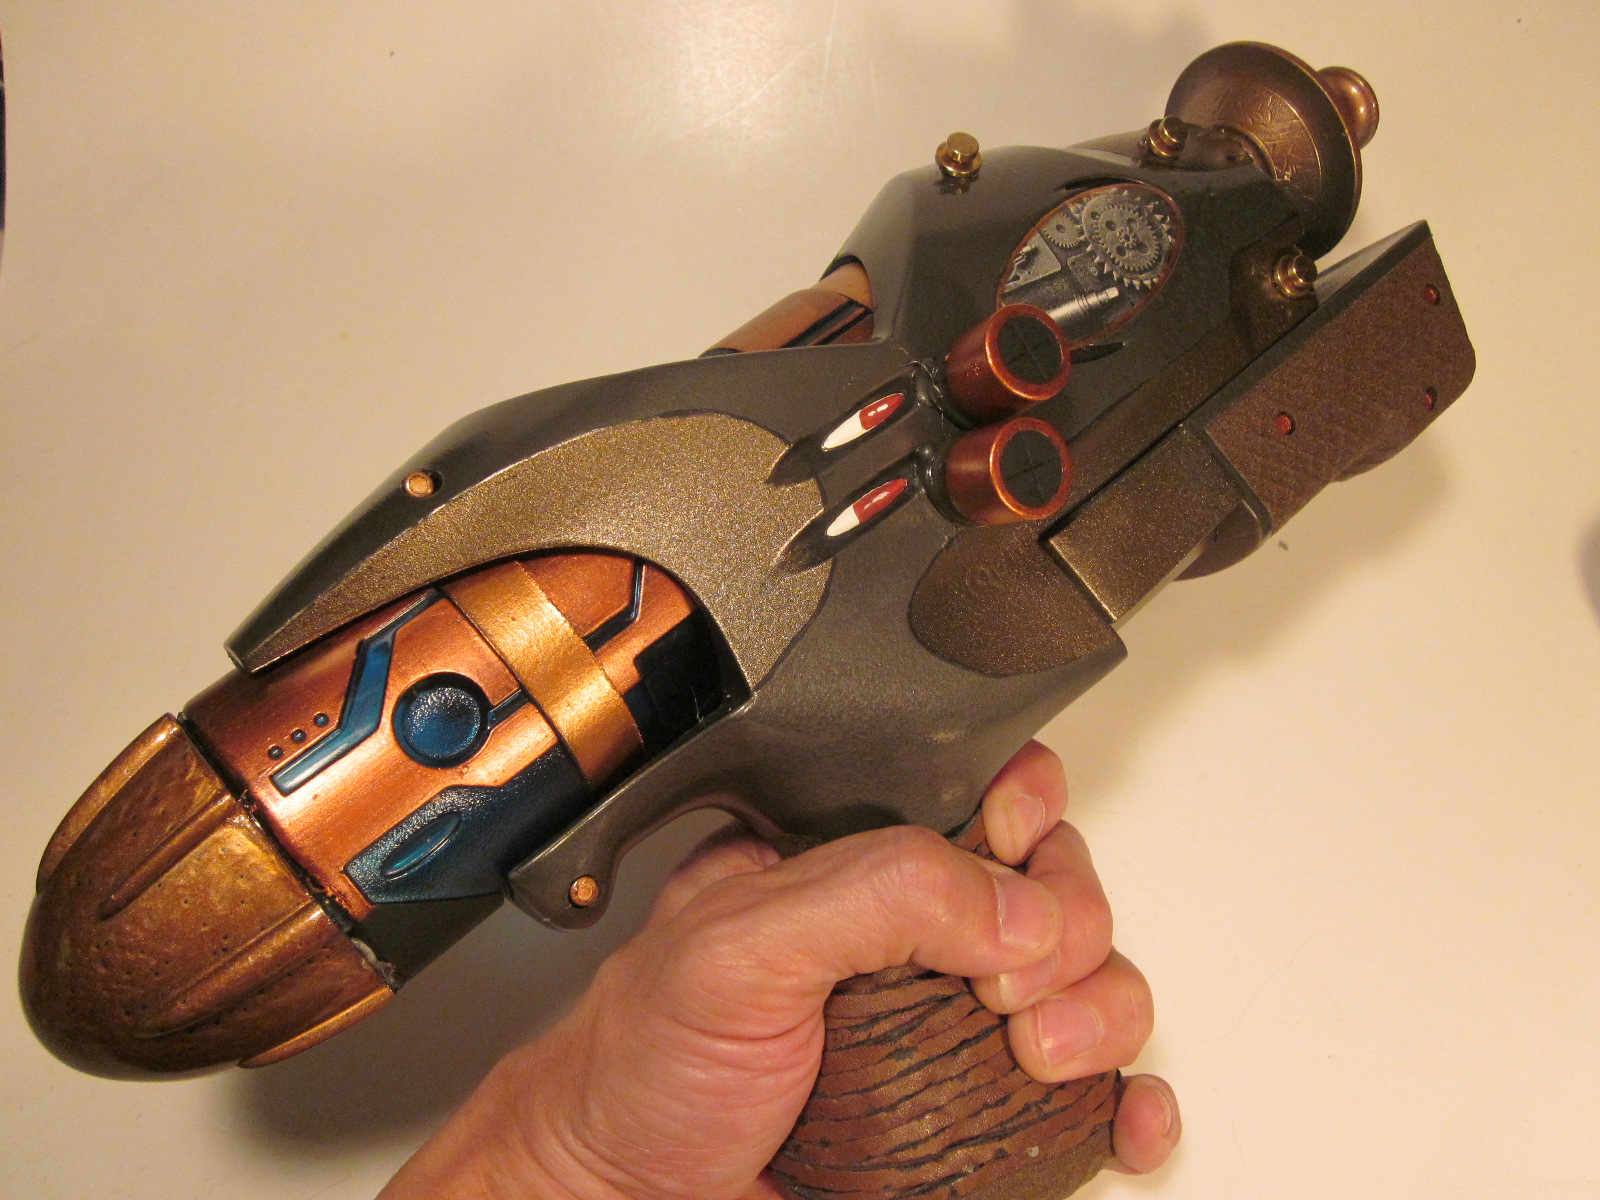
Here's the final product, ready for action. We hope you enjoyed the Vostroyan series! 

We'll get back to miniatures soon.

Til then, Have a Great Battle!
The Old Crow

Thursday, October 25, 2012

Vostroyan Steampunk Raygun Holster and Sword

We had an old cavalry cutlass hanging around and decided it needed an upgrade. It was plain metal with a black scabbard with plain metal accents. The whole thing was a bit tarnished so we masked off the grip and blade along with the black on the scabbard.

Using the Rustoleum brand Hammered Metal spray paint we coated the guard and scabbard accents.

To cover the black part of the scabbard we cut a piece of suede, wrapped it around the scabbard and hot glued it together. This was done in three pieces.

We added the same leather cording from the handle of the raygun to the grip of the sword.

The holster form was made from a thinner cardboard and once again we wrapped it in suede and hot glued it together.

For the front accent we kept a seam and cut several holes on either side. We intended to lace it with the leather cording but had a few issues so used a cloth strap instead.

Using a magnetic snap closure we cut off an old backpack, we created an attachment for the gun belt.

Once closed, the magnet is strong enough to hold the holster and gun in place.

This was an inexpensive project. Other than the hammered metal paint, the only thing we needed to buy was the suede. For a 1.99 we found a large suede skirt at a second hand shop and cut it up to use on these projects.

Now onto building the power claw! Stay tuned for future posts on that one!

Have a Great Battle,
The Old Crow

Monday, October 8, 2012

How to Build a Steampunk Vostroyan Raygun

OK, we put together a pair of Steampunk goggles last time we blogged, so today we'll show you how to build a Steampunk Raygun. This is the finished product. Lot's of copper, brass and bronze is the key. Oh, and gears if you got'em.

Now, how to build it. We started with a great old water pistol some brass candlesticks, capacitors, brass bits, foam and pieces from an old braided leather belt. This particular squirt-gun used a pump action and we liked the look of the pump forward rather than back

We started by placing foam spacers in the blank area where the retracted pump would be. This should hold in place and cover the holes and slot from the extended pump.

Next we cut the brass candlestick, drilled a hole large enough for the "stick" and slid it in place. Using a hot glue gun will hold most of your pieces together. We also would recommend finding candlesticks that unscrew instead of needing a hacksaw to cut the one we found.

We used another part from a different candlestick for the front of the raygun and glued the capacitors to the right side.

Rustoleum makes some very nice paints in metallic, textured and also a hammered finish. You'll see how it adds a nice touch to the finished look of the gun.

Here is the base painted in the Rustoleum Hammered Metal and the ray painted with the Brass Hammered Metal.

Next we masked off different inserts on the gun and sprayed with a metallic bronze.

Masking off the handle and the insert on the pump they were sprayed with a textured brown to simulate our wood handles. You can go hog wild and add the wood grain with a brush but we have other plans.

This is the water supply for this particular squirt gun. We'll be using it once we make a few modifications.

You can use actual copper strap to wrap around anything you want to "Steampunk" but to keep the cost down we cut two straps out of cardstock.

We wrapped them around the tank and painted them with a bronze acrylic. Adding various spots in copper completed the "power Supply" for our raygun. The final touches will be added once it is in place.

Here the power supply is in place and we painted two of the embossed areas to simulate gauge readings

Small capacitors were placed in the recessed areas from the screw holes in the pump and painted copper. Brass bits were added into the upper holes.

The leather straps were wrapped around the handle to form a nice grip.

For our final touch we printed a picture of gears and placed it under the clear plastic insert on both sides of the gun and painted around the edge to create a bronze ring.

There you have it. Your very own Steampunk ray-gun ready for action.

So grab your goggles for eye protection from the high intensity beams of your raygun! Any Vostroyan would be proud to wield such a fine weapon.

Have a Great Battle!
The Old Crow