Well here it is, the end of our first modelling class. This was the last week and finishing the projects was pushing our budding modellists to the edge! Only three class members made it to the final class but hopefully we can get a few shots of the other projects in the future.
Jake has his diorama in its last stage, adding his warriors to the scene....
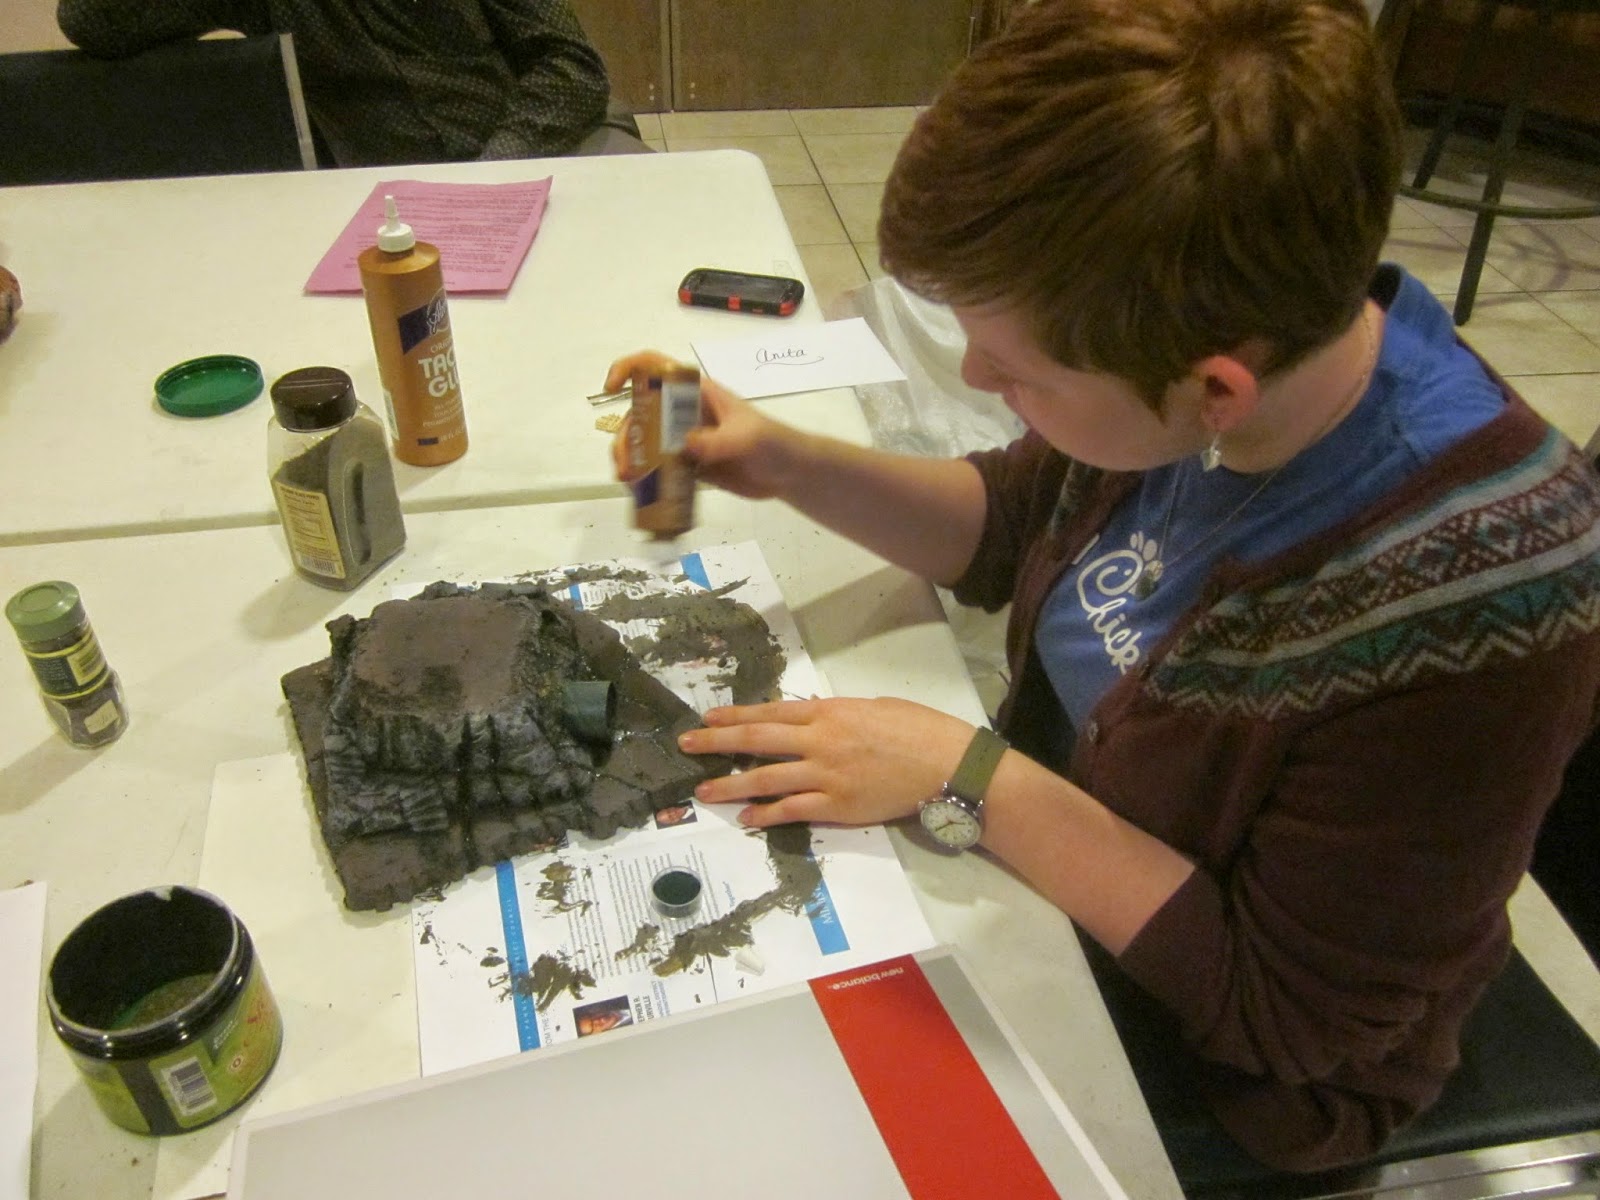
Landon was administering foliage to his base....
And Julie was doing the same.
Jake added box sets of Philistine and Hebrew warriors from Caesar Miniatures, along with a new set of 28mm Biblical Age figures from North Star Miniatures for his Goliath.
Here are some of the "gritty" warriors duking it out in the foreground.
David and Goliath are down in the valley, David's sling is just letting loose its stone.
Here the Hebrew warriors are overlooking the battle down below.
Overview with Goliath in the southern end of the diorama. I like how David is positioned in the opening to the valley to block Goliath from running!
Jake was the visionary and had moved onto his diorama while most of the class was still working on their houses.
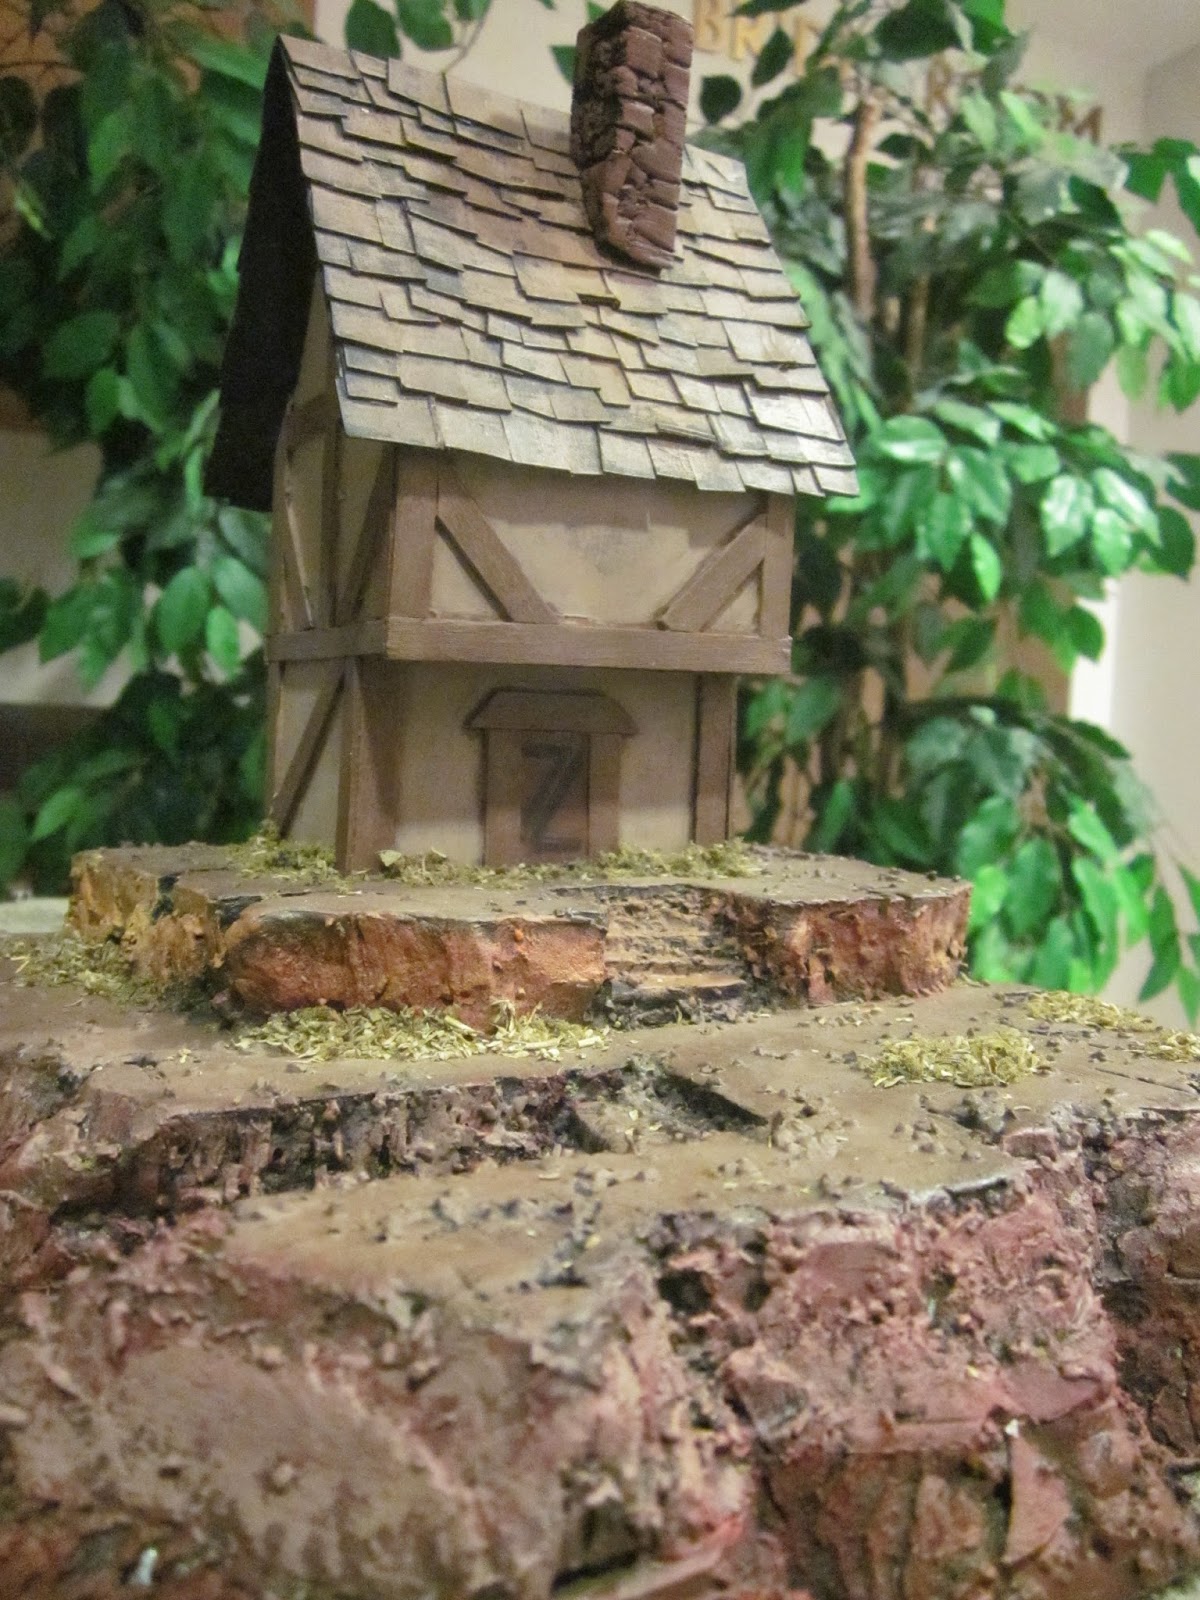
Landon put in a good many hours on his house and base.
He was really challenged to go for broke and he did a fantastic job .
Here are a few more shots of his dwelling and base
some nice stairway carving
and a swell job on the roof and stone chimney
an overall success.
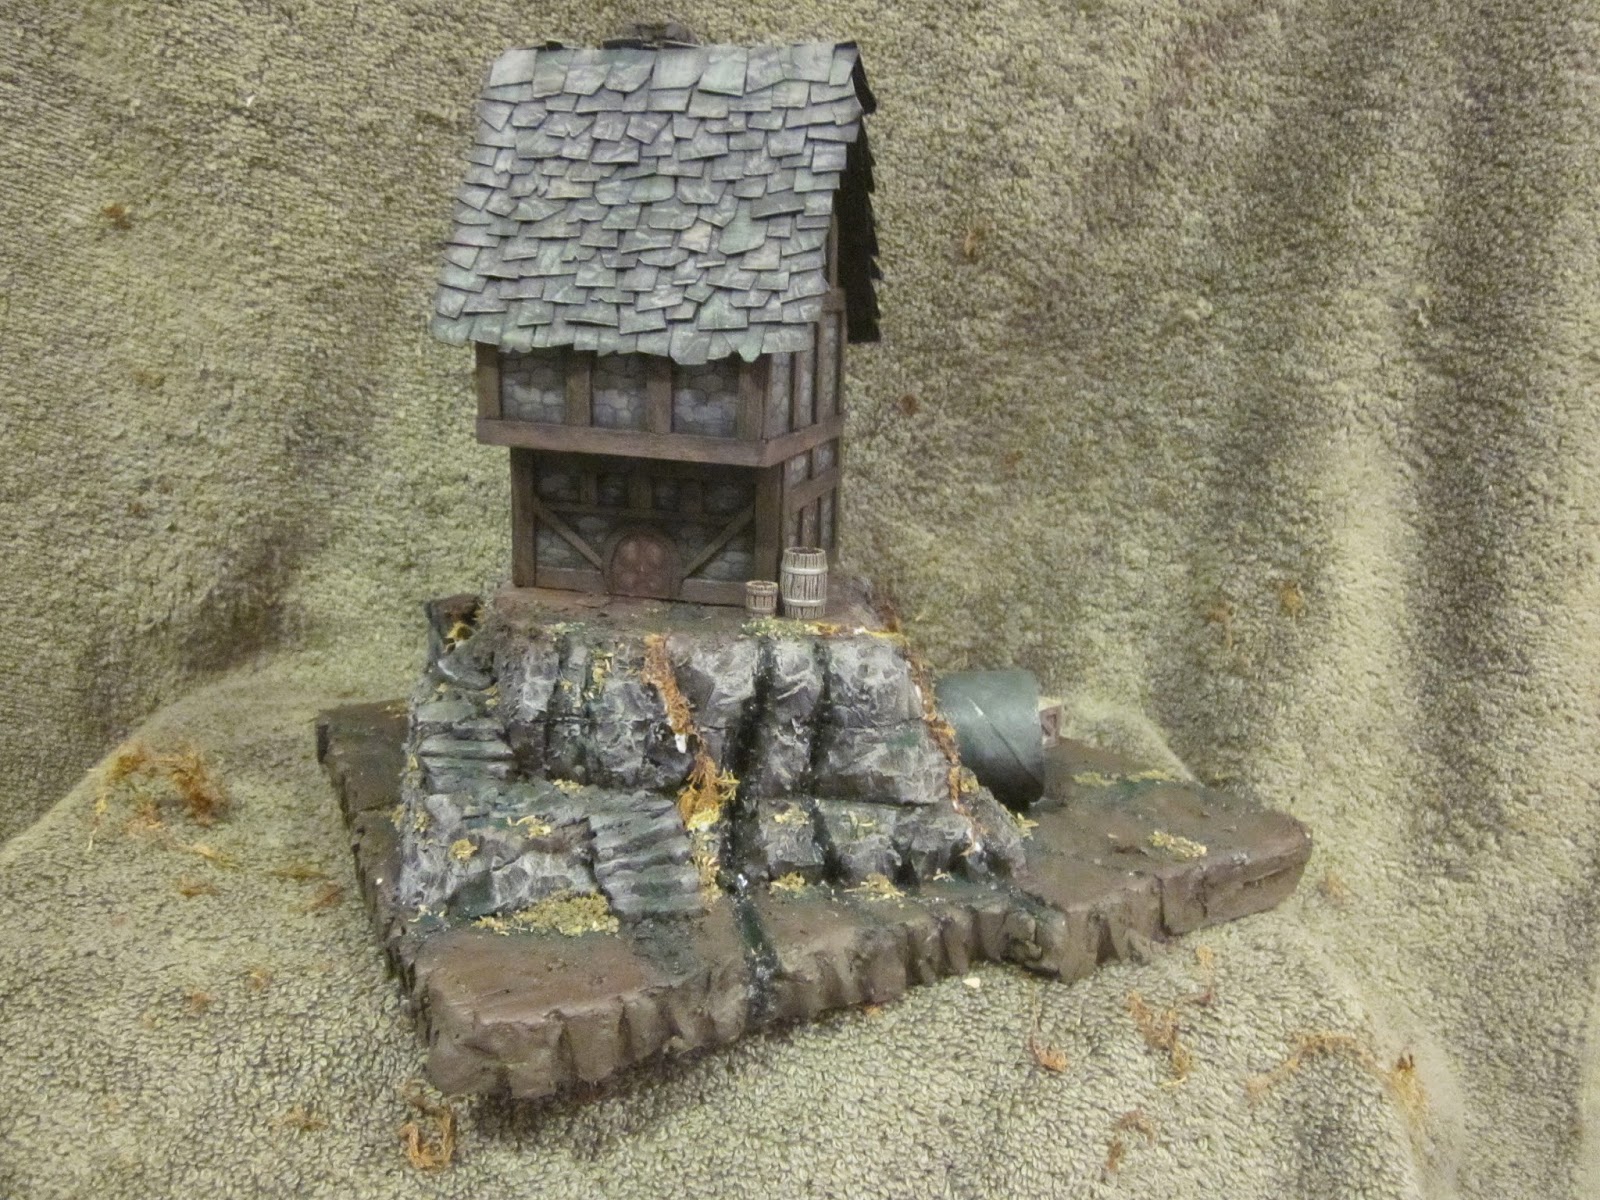
Julie worked long after class was over most of the weeks, It shows in her final project.
She went above and beyond on the details,,,
including the stairs winding up the hill....
to the gate blocking the sewer pipe...
and the ooze dripping out,
here's more to see
She has some very nice stone work on here too.
It was a fantastic class and we really enjoyed everybody who attended and loved getting new people involved in the miniature making hobby!
I'd have to say they all passed with flying colors.
Have a Great Battle!!
The Old Crow
Wednesday, April 30, 2014
Monday, April 28, 2014
How To Build a Half Timber House - Part Three, Painting
Finally back to finishing our Half Timber House, painting will be the final stage to having a few of these beauties to call your own! We showed you how to build The Half Timber structure in Part One and how to add all the details in Part Two, now we'll provide the painting tips.
Start as usual with a base coat of black. You can apply a spray primer or brush it on with a 1-2" soft bristle brush. Here we brushed it on quickly, not worrying about brush strokes showing. we'll use those to our advantage later.
Keep the brush more parallel to the surface and apply the paint in downward strokes from top to bottom. It is better to use small amounts of paint and build up the layers.
Our final stage is the Terracotta paint. It is applied the same way, small amounts, top to bottom and several layers. The wetter the brush the more paint that will go down at once. If the brush is to wet, all the fine details will fill in and the final project will look flat to the viewer.
On this roof we have a much softer look. We did additional layers of dry-brushing and different colors. A dark gray primer was used, then raw umber, nutmeg, yellow ochre and finally the terracotta.
Now that your roof is completed, we'll move on to the siding and timbers. This first stage will be applied to both parts and then we;ll do the rest of the stages separately. We used the Raw Umber again and applied it to our wood going across the grain and as before, keeping the brush more parallel to the surface. You really want some of the crevices to remain dark.
Now the stucco or plaster wall surface. Using a stiff bristle brush and a tan color, we used Mink Tan, dab the paint into the recessed areas between the timbers. This is often referred to as stippling. Variations in the amount of paint and coverage is a good thing here.
Once all the wall sections are covered in the tan color we can move on to the final step of the wall treatment.
Using the same technique apply an off white over the tan. Allow variations in your coverage. Don't use a bright white, it'll look to clean for the side of a weathered house. Also, don't worry to much about getting extra spots on your timbers, future stages will cover any mistakes.
Back to the timbers. We painted the Raw Umber earlier, now use a medium brown, we used Coffee Bean.
As before, be sure to paint across the grain.
As before, be sure to paint across the grain.
Finally dry-brush on a lighter brown. In this case we used Nutmeg, warm brown. You could easily use colors to represent a lighter wood or grey tones for a weathered barn wood look.
If you added extra features like wooden doors and window lentils, use the same process to paint them.
If you have stone on your house, you want to work with a very dry-brush. We used Medium Gray and wiped most of the paint off the brush. Then we gently wiped across the stones keeping the brush more parallel with the surface so the paint stays out of the cracks between stones.
You can see the texture left behind at the priming stage coming through quite nicely.
The next gray was a slight shade lighter than the first and after a quick and very light dry-brush, we applied it thicker and wetter to some of the stones.
Last but not least was to add some variations in colors and detail out some additional stones to give it a vibrant field-stone look.
And there you have another half timber house to add to your village!
Keep up the good work and...
Have a Great Battle,
The Old Crow
Keep up the good work and...
Have a Great Battle,
The Old Crow
Saturday, April 26, 2014
Model Building Class, Scenery Update
Our Model Building Class is winding down and will be concluding next week. After the half timber house we covered scenery so that bases could be made for their houses or other projects could be moved along. This was a quick build monolith demonstration to show the basics of foam cutting, putting it together, painting and detailing. This is an easy terrain piece that can be used in any tabletop wargames like Warhammer, SAGA, Black Powder or Field of Glory.
We used a few leftover pieces of foam which were cut using a variety of tools. It measures approx 11 x 7 inches and 6 inches tall.
It was glued and a coarse threaded screw was used to "pin" the monolith onto the base.
A series of layered colors completed the painting demo and we used a mixture of coarse modelling turf and Italian Seasoning for the foliage. Hopefully we'll get a few photos of completed class projects next week!
Have a Great Battle!
The Old Crow
Subscribe to:
Comments (Atom)


